Getting crafty with brown paper flyers
Our brown paper flyers offer a more natural alternative to regular flyers, but knowing how your design will turn out can be a bit hit and miss. Follow these simple steps to design for brown paper printing with confidence.
When printing on brown craft paper the color of the inks will shift a little, with everything taking on a yellow hue as the inks are absorbed into the paper surface.
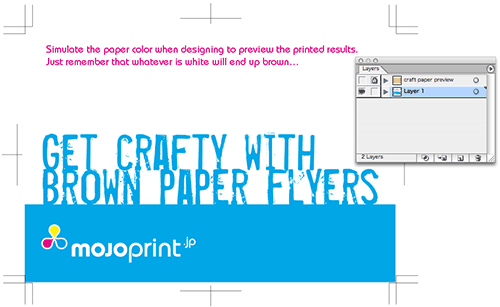
We can simulate this effect by creating a new layer above our artwork.

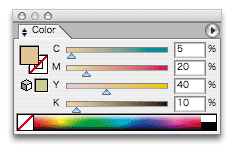
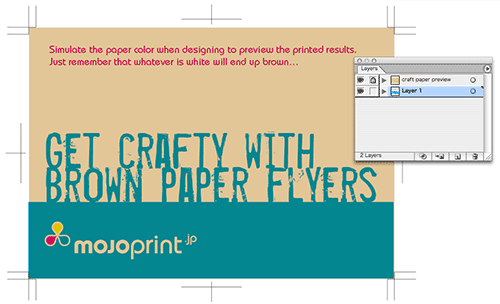
Create a new layer above your artwork and add a shape that is equal to your flyer size. In this case an A6 shape plus the bleed, so 154 x 106mm. Fill the shape with a craft paper color (C=5, Y=20, M=40, K=10) and then set the blending mode to multiply in the transparency tab.

Now you can see how your flyer will look when printed in real time! Don’t forget to delete the preview layer before submitting your artwork.

Adding some silver ink
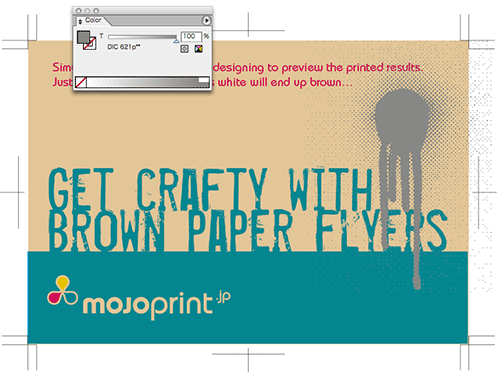
You also have the option of printing a 5th color on your brown paper flyers – metallic silver ink! Adding a 5th color is easy. Simply open the DIC color swatch library from the swatch panel, click the contextual menu and select > Open Swatch Library > Diccolor.
Select DIC 621 (silver) and then color any elements you want to print as silver with that swatch. Make sure you create the silver items on a layer above the craft paper preview layer so you can see the overall effect more clearly.


