Heavy Metal
Want to do something a little different for your next flyer? Get creative with silver ink to get some stunning metallic effects.
Overprinting silver ink over regular CMYK colors gives you exciting new opportunities for creativity. Not only can you use silver ink on its own for a touch of class, but now you can produce colors not possible with just conventional CMYK inks – metallic hues!
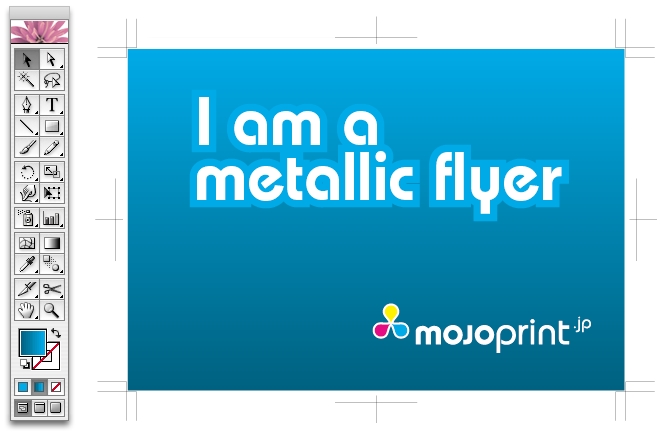
First we need a design. Let’s take the example below. Working in Illustrator, create your flyer/design as normal, but keep in mind which areas you would like to have as metallic. A contrast of metallic and non-metallic areas will work best.

Set up the silver spot color
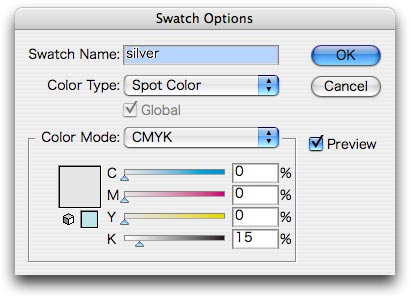
Now what you must do is create the silver spot color. To do this, add a new swatch to the swatch palette and change the values to those below. The important thing here is that you select ‘spot’ color from the drop down list. This will make sure the silver areas are output to a new, 5th plate during pre-press.

NB. We will replace this silver spot color with our own special silver swatch during pre-press. This set up is purely so you can preview the overprint results more accurately than with a real silver ink swatch (much darker on screen).
Create the overprint
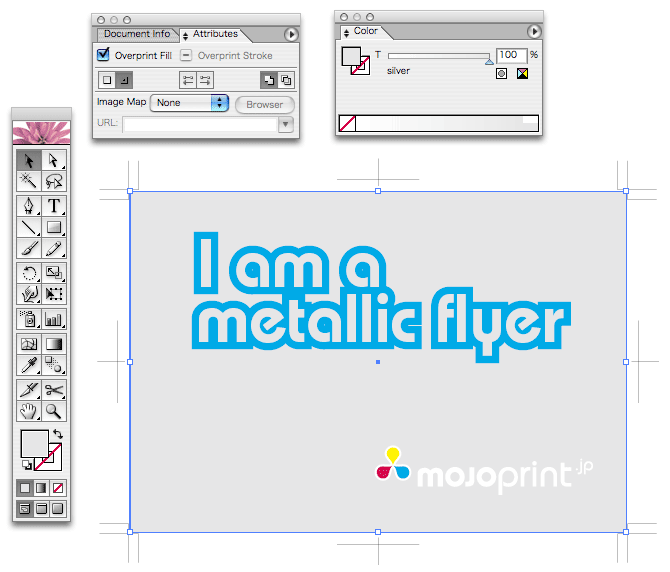
Next is the magic part. Select the graphics you wish to make metallic and copy (cmd/control + c) and then paste in front (cmd/control + f). With the new objects still selected change their fill color to the silver spot color you created earlier. Lastly, check the ‘overprint fill’ box on the attributes palette.

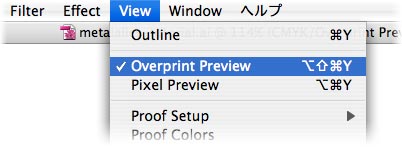
And to check how that will print, Illustrator has a handy overprint preview option (shift+cmd/control+alt + y). This will give you an idea of how it will print, but obviously is only an on-screen representation.

Tip: Dark colors or red hues do not create very good results, so best to stick with lighter or cooler colors when using this technique.

